STEP 1
We will want to download the slick archive and unpack it in the theme directory /theme/custom/project_theme/includes/. After that, we will need to connect our site with the library. To do this, let’s create the file bartik.libraries.yml
home_page_slider:
  version: 1.x
  js:
    js/front.js: {}
    libraries/slick/slick/slick.min.js: {}
  css:
    theme:
      css/bootstrap.min.css: {}
      libraries/slick/slick/slick.css: {}
      css/front.css: {}
  dependencies:
    - core/jquery
STEP 2
Take a look at front.js. This file has the code for initializing the slick slider ..
(function ($) {
Drupal.behaviors.initSlider = {
attach: function (context, settings) {
$(document).ready(function(){
$('.slick-slider').slick({
dots: true,
speed: 800,
autoplay: true,
});
});
}
};
})(jQuery);
STEP 3
We will now create custom content type. For this, we will need to go to /admin/structure/types/add
Let’s write a name to our content type (here: Slider image) and set the description.
Now, in the slider_image content type we have to fields:
- Body. This is for setting the image text.
- Image. This is for uploading an image to the slider.
STEP 4
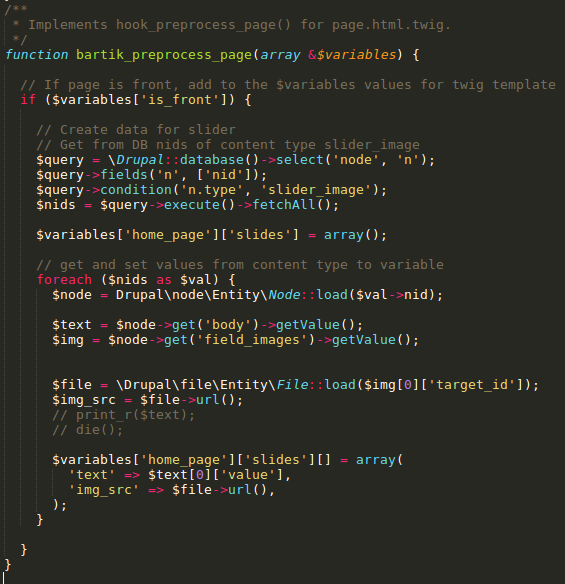
let’s insert some code to the bartik.theme file. We will add the new variable home_page, which contains data about the slider images.
/**
* Implements hook_preprocess_page() for page.html.twig.
*/
function bartik_preprocess_page(array &$variables) {
// If page is front, add to the $variables values for twig template
if ($variables['is_front']) {
// Create data for slider
// Get from DB nids of content type slider_image
$query = \Drupal::database()->select('node', 'n');
$query->fields('n', ['nid']);
$query->condition('n.type', 'slider_image');
$nids = $query->execute()->fetchAll();
$variables['home_page']['slides'] = array();
// get and set values from content type to variable
foreach ($nids as $val) {
$node = Drupal\node\Entity\Node::load($val->nid);
$text = $node->get('body')->getValue();
$img = $node->get('field_image')->getValue();
$file = \Drupal\file\Entity\File::load($img[0]['target_id']);
$img_src = $file->url();
$variables['home_page']['slides'][] = array(
'text' => $text[0]['value'],
'img_src' => $file->url(),
);
}
}
}
STEP 5
At last, we have come to the point where we need to write code!
<div class="b-carousel slick-slider slick-dotted">
              {% for slide in home_page.slides %}
              <div class="b-carousel__slide"
              style="background: url('{{ slide.img_src }}');
              background-position: 50% 50%;
              background-repeat: no-repeat;
              background-size: cover;">
              <div class="container">
                <div class="col-sm-8 col-sm-offset-2">
                  <div class="b-example">
                    <div class="b-example__item b-example__item_iwill">
                      <div class="b-example__label">S&F</div>;
                      <div class="b-example__text">{{ slide.text|raw }}</div>
                    </div>
                  </div>
                </div>
              </div>
              </div>
              {% endfor %}
            </div>
Type 2:- If we have use multilingual so query
$elements = [];
$ids = \Drupal::entityQuery('node')
  ->condition('type', 'slider_image')
  ->execute();
$nodes = Node::loadMultiple($ids);
$language = \Drupal::languageManager()->getCurrentLanguage()->getId();

foreach ($nodes as $node) {
  $translation = $node->getTranslation($language);
  $elements[] = [
    'title' => $translation->title->value,
    'url' => $translation->url(),
    'img' => $translation->field_images->entity->url(),
    'text' => $translation->body->value,
  ];
}
return $elements;


No comments:
Post a Comment
If you have any problem please let me know.